|
Bullet Journals are a hot topic right now, and it seems like everyone has one. Well I’m a part of this bandwagon. And that’s okay! You don’t need to feel bad about being “basic”, an idea that I recently read about and one I want to embrace. I love being basic at times and my bullet journal is one of those times.
I’ve attempted to start bullet journaling several times. The most recent of startups was around August of last year. Well that journal quickly turned into an unorganized mess. For some people that’s totally okay and the point of having a bullet journal, but for me organization was the whole reason of having a journal so I restarted. At the beginning of March I got a new journal and started fresh and I can honestly say I’m pretty proud of the results. Now I plan on videoing my bullet journal for the vlog so I don’t want to spoil too much. Instead I’ll just describe my layout and get you excited to actually see the layouts in the video. At the very beginning of my journal I have a little round design with hello beautiful in it. Next page is my year at a glance, then my 2018 bucket list. On the next page is my list of birthdays and finally I have a spread of savings goals for the year. That concludes all my introductory pages. After those I have my weekly trackers. I have it set up so at the beginning of each month there’s a calendar and a budget to stick to. Then follows my weekly pages. On those I have work shifts written, a spot for what's for dinner, and a spot for workouts. Then at the end of all the days, is a tracker that I use to keep track of water, food, the gym, wearing my watch, blog posts, and vlog posts. That pretty much sums up my weekly spread. Now these are exactly my most exciting pages, but they make me feel so organized and successful. After all my weekly spreads, I have a section dedicated to my geckos. Yes an entire section. This is one I feel really proud of and can’t wait for you to see in the video. I’ve got a list of all my geckos, a breeding group page where I can write when cluthces are laid, then I’ve got a page to keep track of sheddings. The next page is dedicated to writing down the dates of cricket and banana feedings. Then there’s an emtpy page that will be used to write down when clutches hatch and how the hatchlings look. After that each gecko has a page where I write down their biweekly weights. Then to finish off my bullet journal I have a simple monthly lists of what blog and vlog posts I’m going to post. I feel like my descriptions aren’t very good but I’m really excited to film and want you guys to check that out. So sorry for the photoless post, just think of it as a teaser for what's to come!
0 Comments
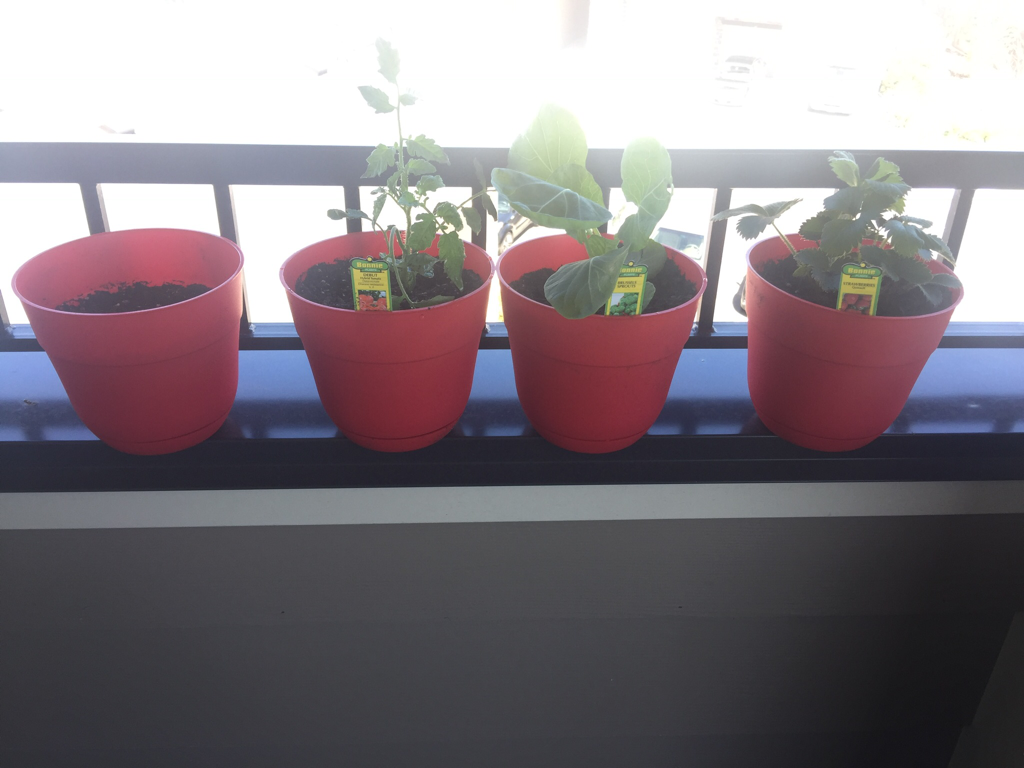
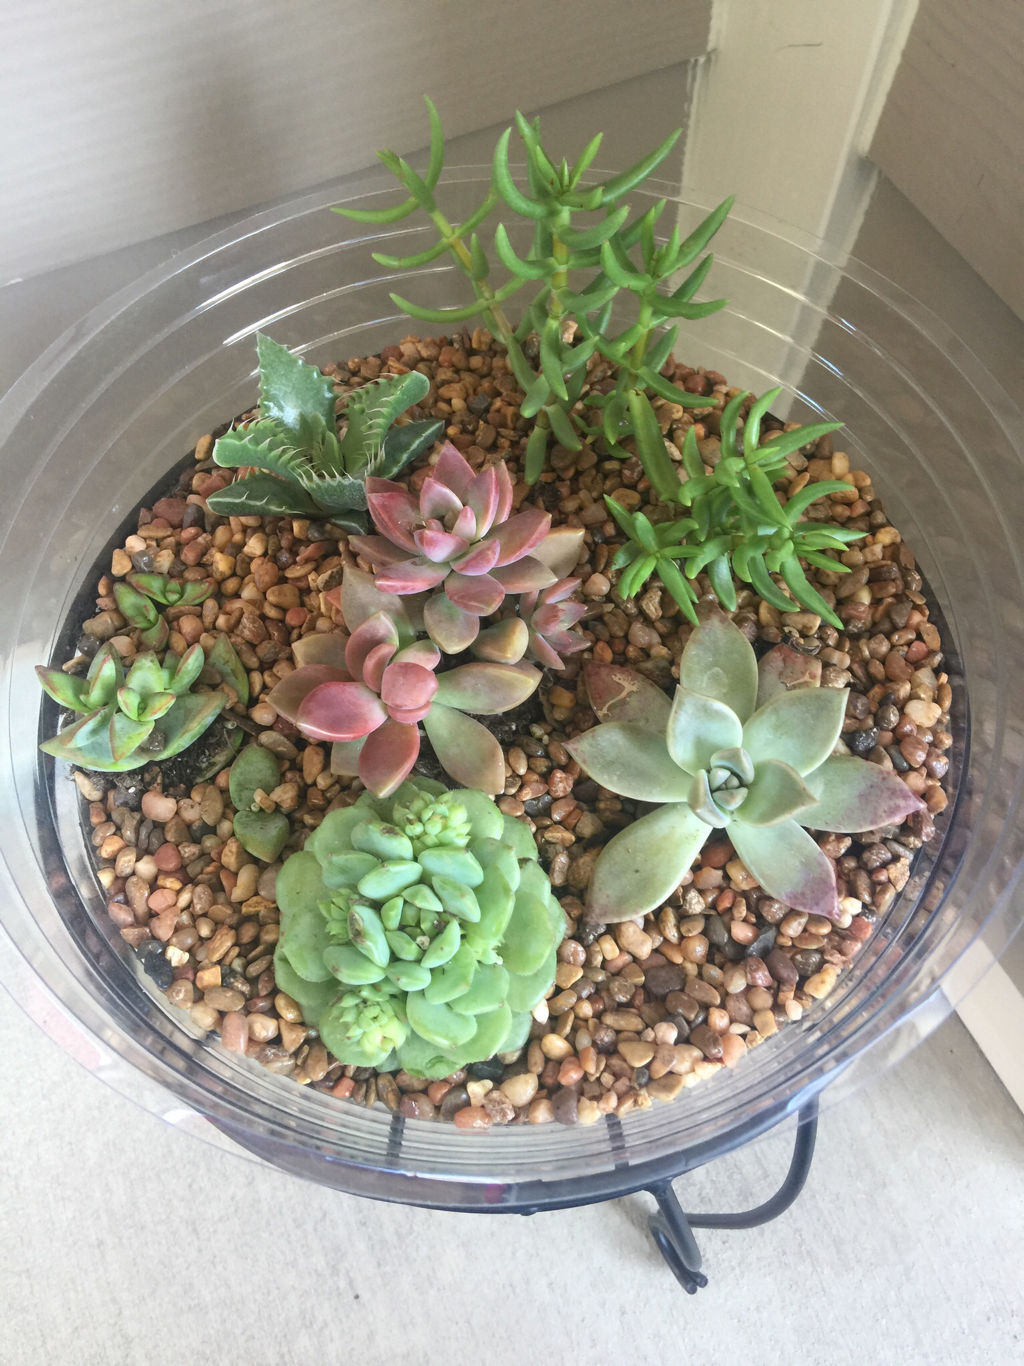
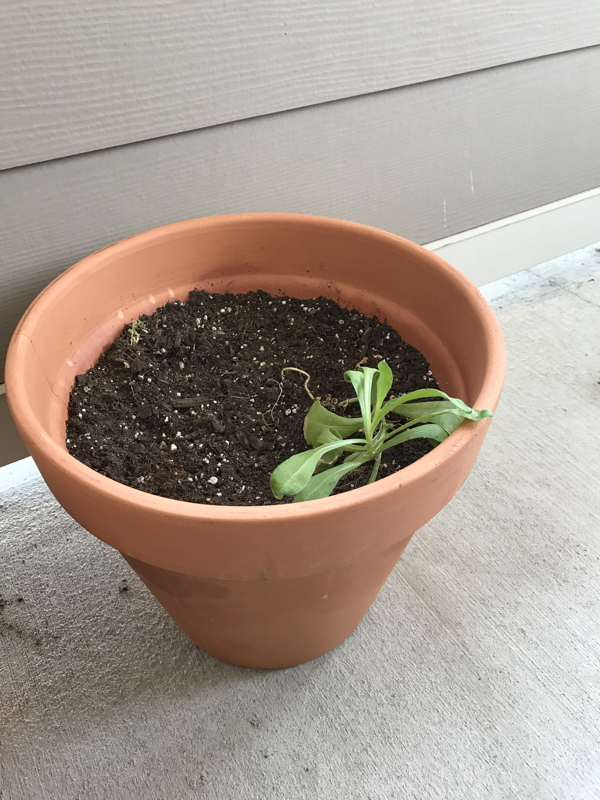
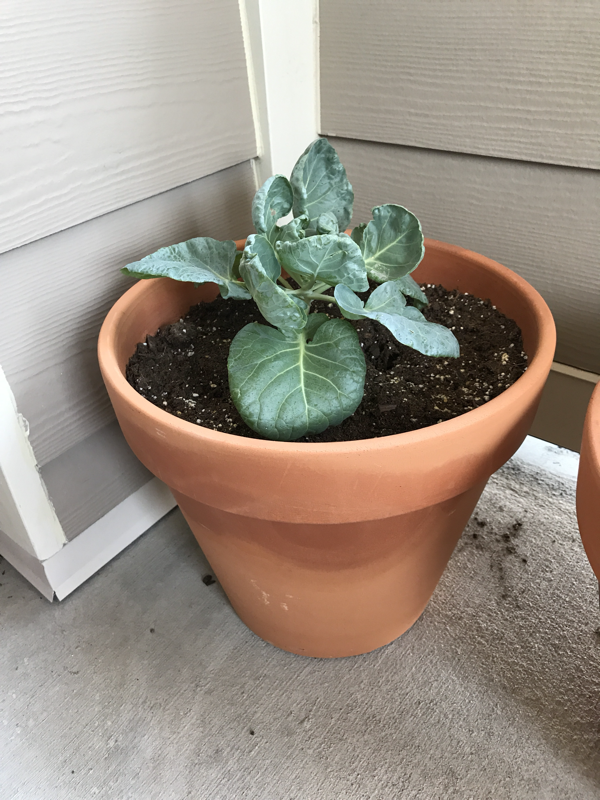
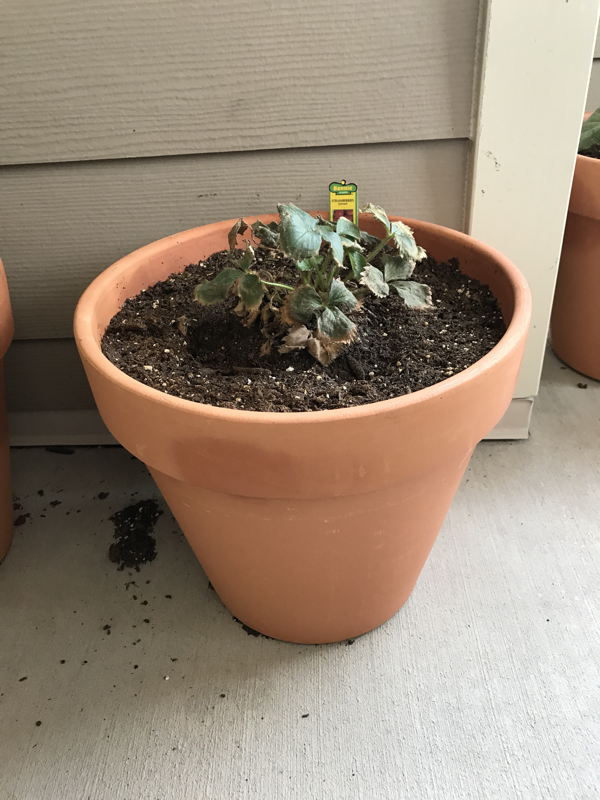
I have always dreamed of having a garden. One that grows all sorts of vegetables and fruits. Now that I've moved out I am so excited to start my very own garden. I don't have a nice, big backyard (yet), but i’ve made my small (and very cute) balcony work. A few months ago I got some plants from Walmart and some small planters. I picked a tomato plant, a strawberry plant, and a brussel sprout plant. I also picked up a packet of wildflower seeds. And as a treat I got some succulents Armed with some gloves, lots of dirt, and my plants I got to work. Once the plants were settled in their new containers I found a sunny spot and there they sat for a month.
With daily waterings, they soon grew too big for the small pots and had to be transferred to bigger ones. This was an event. I made a huge mess trying to safely pull them out of the old pots. Eventually I got them nestled in their new pots. (Although I think the move killed my strawberries :( ) I am so happy to see them grow. There is just something so satisfying knowing you're able to make something grow and flourish.
*Kylie I saw this adorable wreath on Pinterest and just knew I had to try it! I started off with an 18 inch wire wreath and 120 clothes pins. I used Apple Barrel paint in the colors Flag Red, Too Blue, and White. All these supplies were found at Walmart. I got the bag of multi sized stars at Hobby Lobby. Painting the clothes pins turns out to be quite the challenge. I had to hold the pins open with another pin to get the inside painted as pictured below. All colors only took one coat of paint. After several nights of painting I then put it all together. I got rewarded with this super cute wreath that I love to come home to see on my door. I will email full instructions to those who comment below. :) Happy July everyone!! 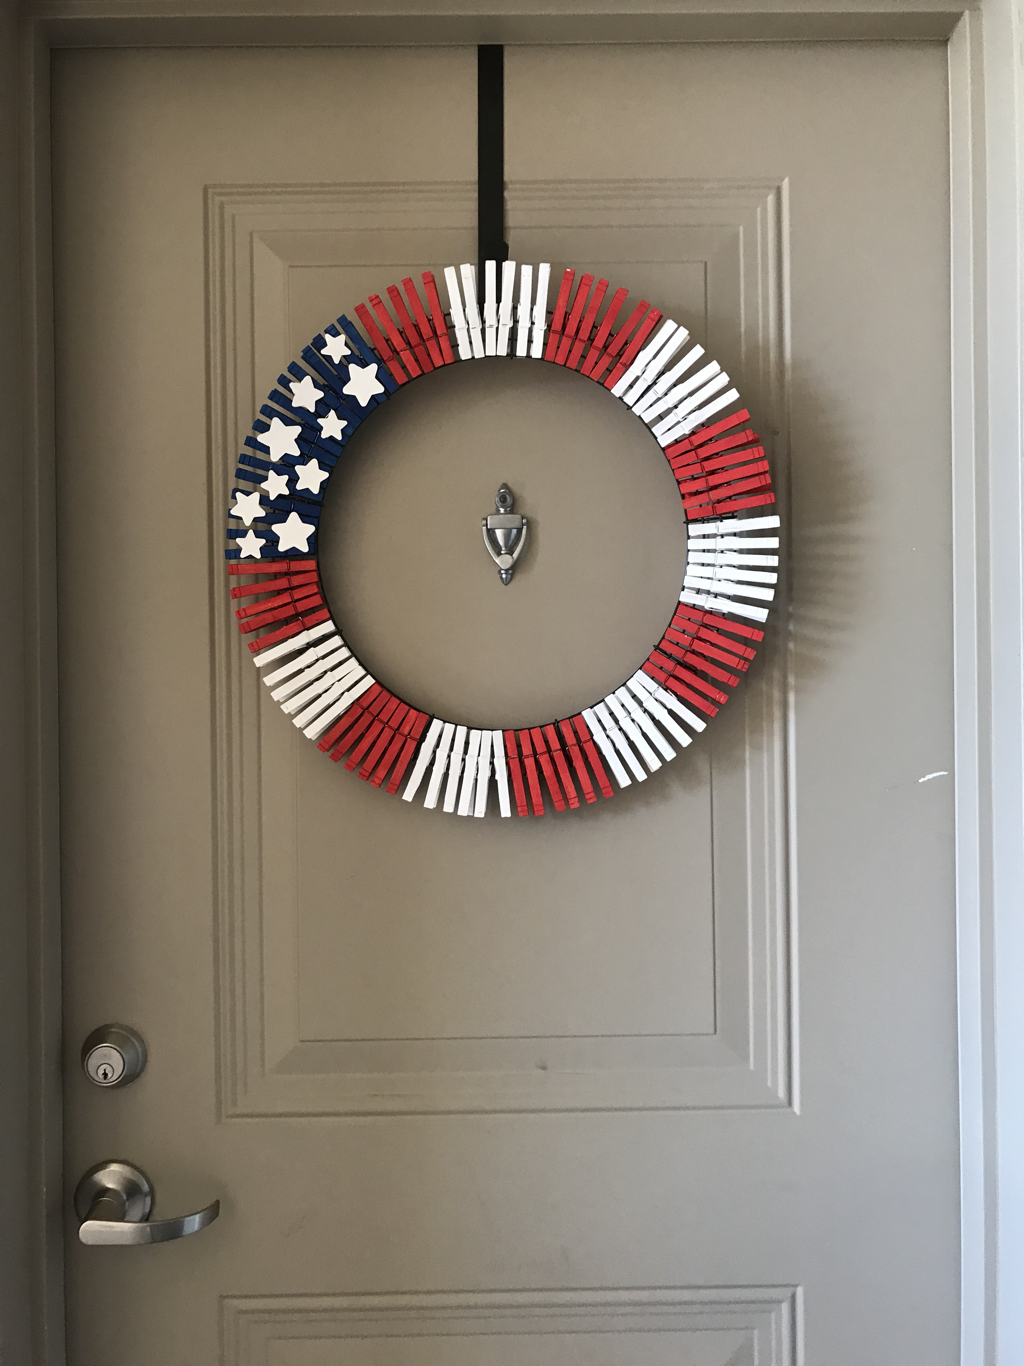 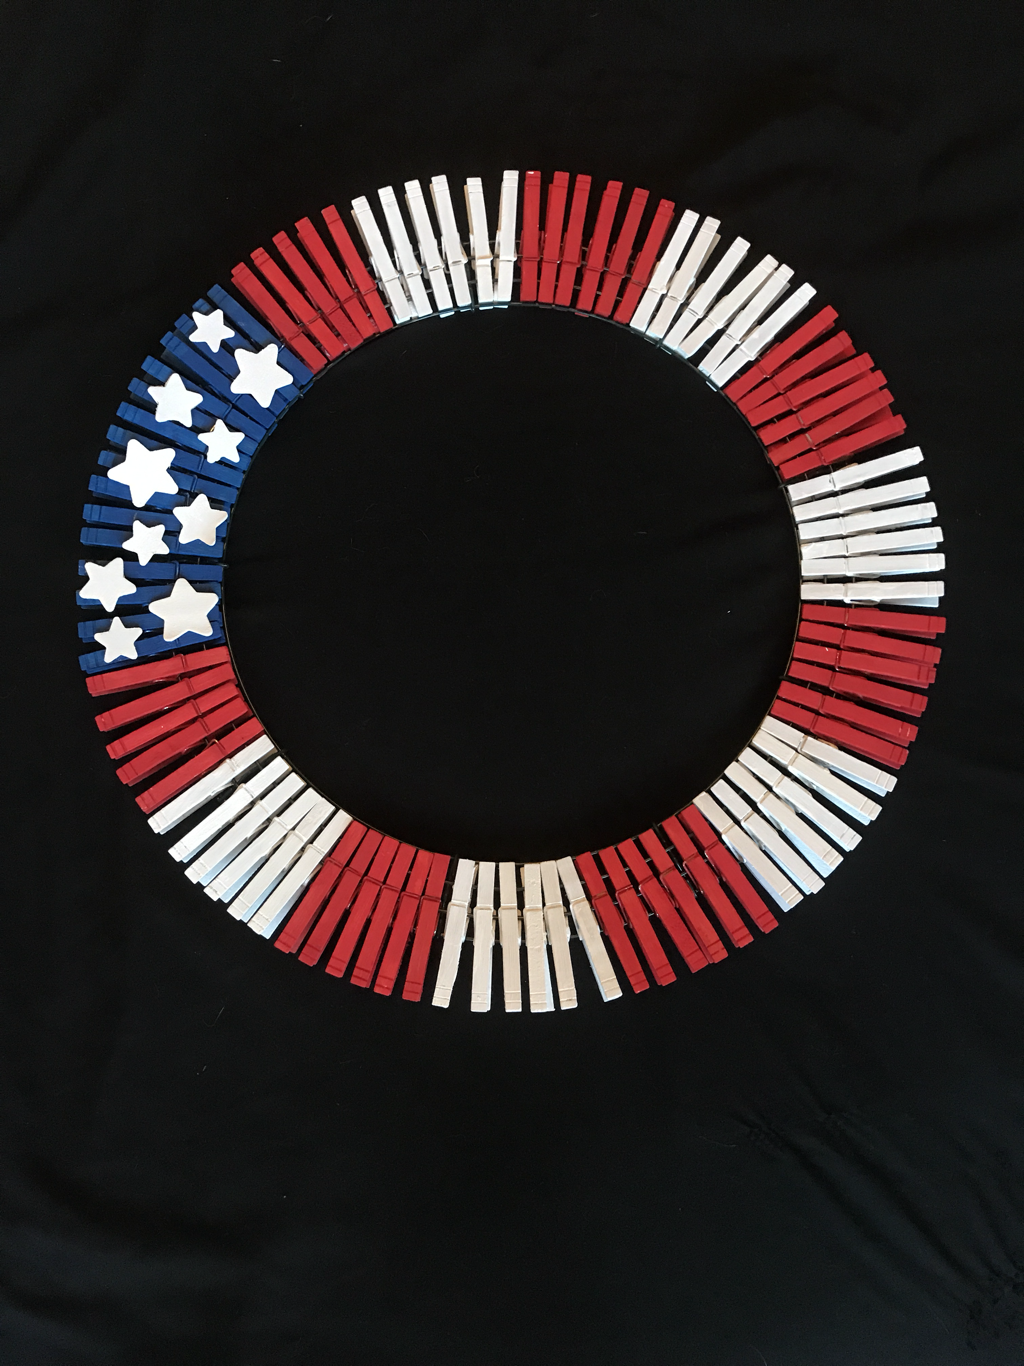 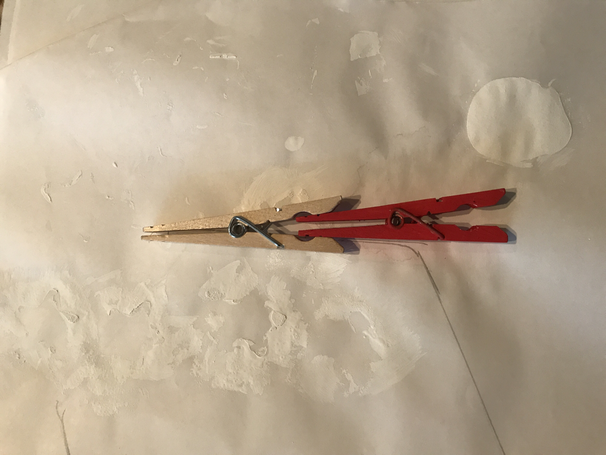 |
AuthorHi! My name is Kylie. I'm 21 years old and am married to my best friend! I love my wonderfully normal life and hope you do too. Archives
March 2018
Categories
All
|

 RSS Feed
